New PEI Plate
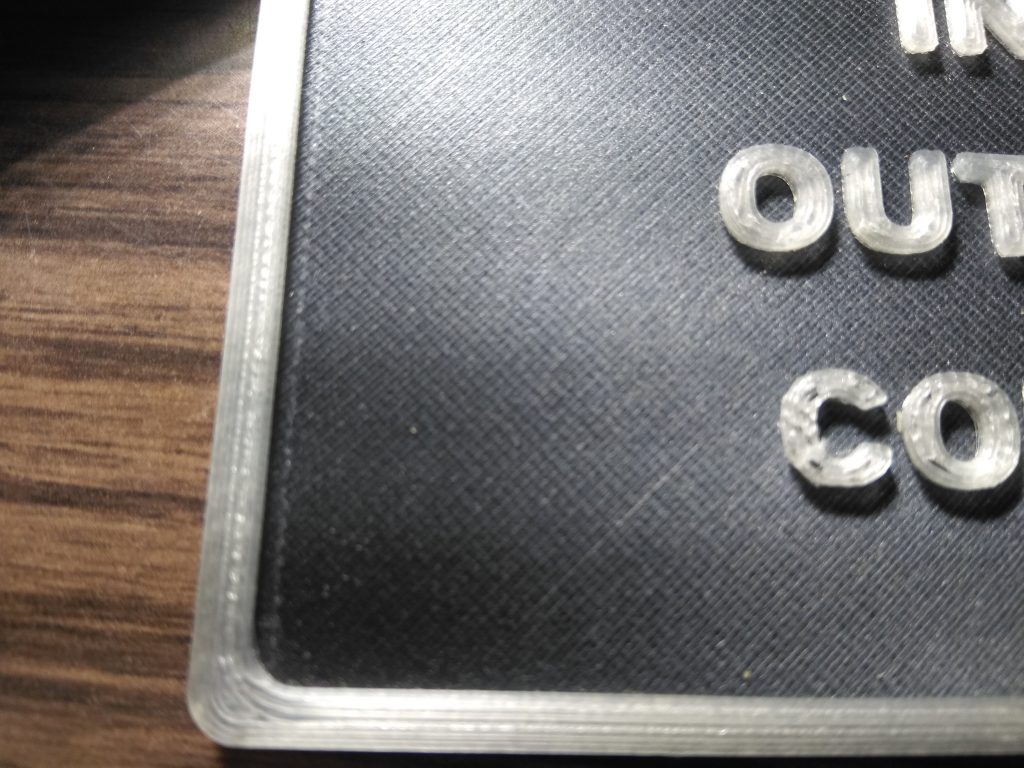
On a recent ABS print of a V-slot gantry plate I actually pulled of a sliver of glass with the print! Time for a new glass plate bed. I ordered a 4mm borosilicate plate, a piece of PEI with the 3m adhesive sheet already attached and a sheet of very thin blue silicone (without glue or anything). The PEI sheet was easy to adhere to the glass without any bubbles. Four 1″ squares of the silicone placed over the bed screws are enough to hold the glass to the heated aluminum bed. This is definitely the best surface I have printed on yet. PLA sticks well at 45 degrees and easily pulls off the plate no glue or blue tape or hairspray required. On the first ABS print I included a small brim. Not needed. With a bed temp of 115 degrees I had good adhesion and no warping. Print pulled of the plate with more force than required for the PLA but no tools required (I will try a bed temp of 100 degrees on my next ABS print. I understand that the PEI sheet can be sanded with 600 – 1200 grit sandpaper for a mat finish on the bottom. Right now the prints come out glossy on the bottom.

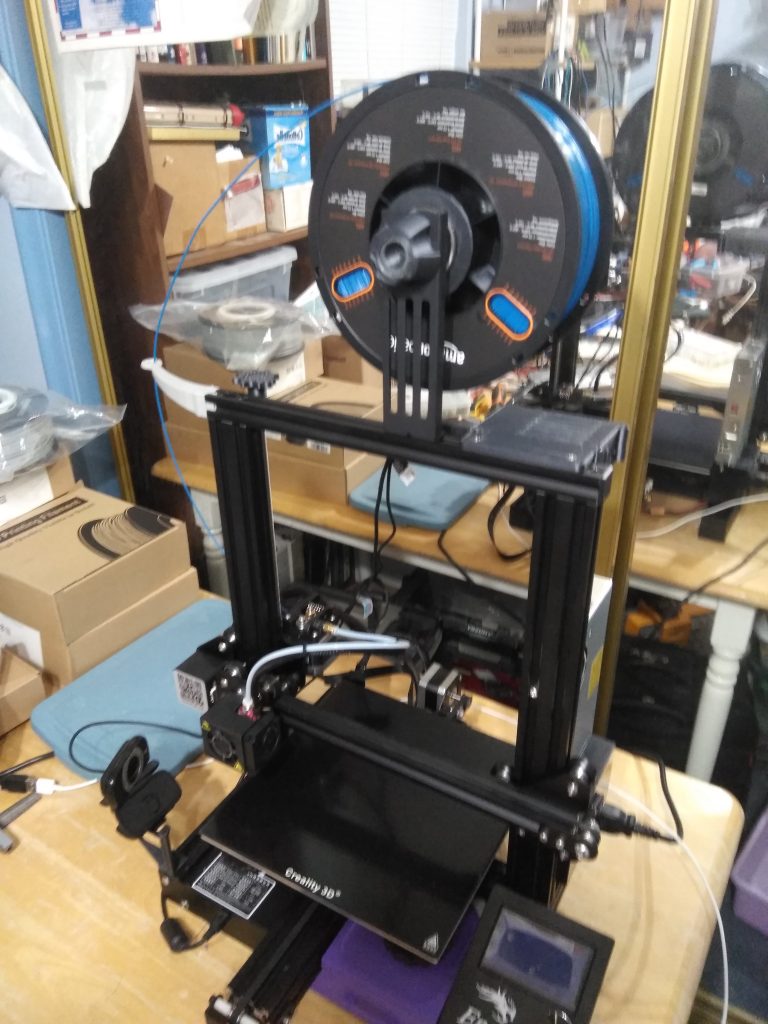
Some stuff I’ve printed for the printer: small tool box under printer table, webcam mount, raspberry pi mount, ball bearing spool holder, z-axis knob, filament guide.
I use OpenScad http://www.openscad.org/index.html for my design work.
I use Ultimaker Cura 4.0 https://ultimaker for my slicer.
I use OctoPrint https://octoprint.org/ with a raspberry pi (with wi-fi enabled) for printing.
Some of my designs:
https://www.thingiverse.com/thing:3689512
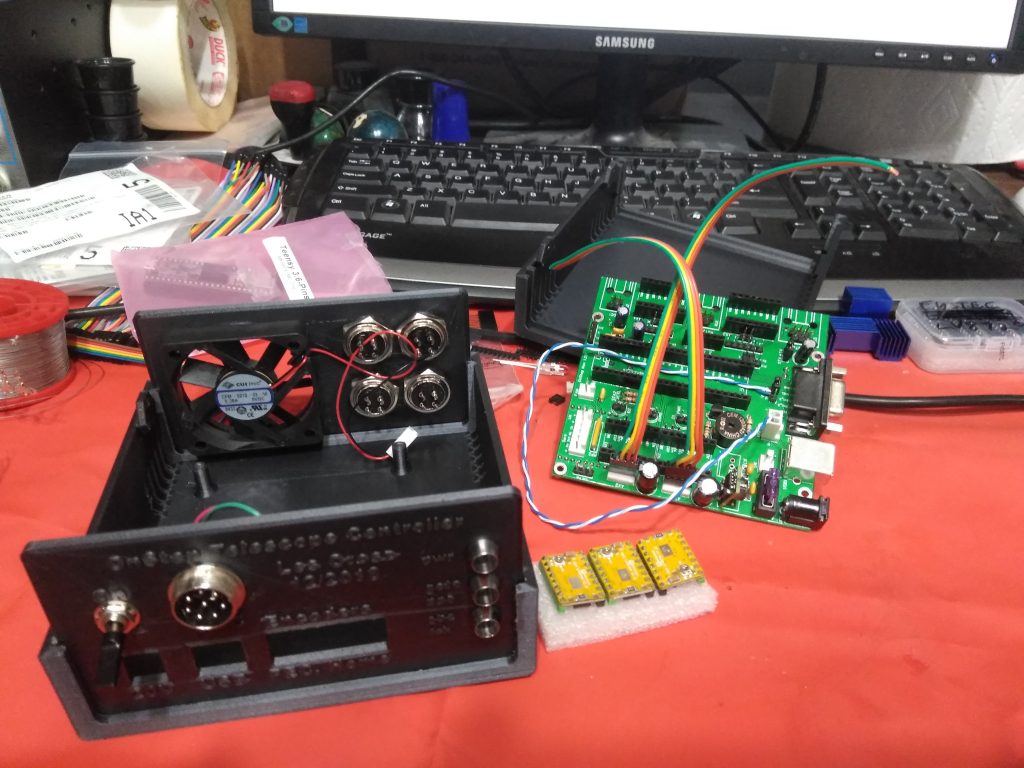
This is a box for the OnStep Telescope Controller: https://groups.io/g/onstep/wiki/home
https://www.thingiverse.com/thing:3940881
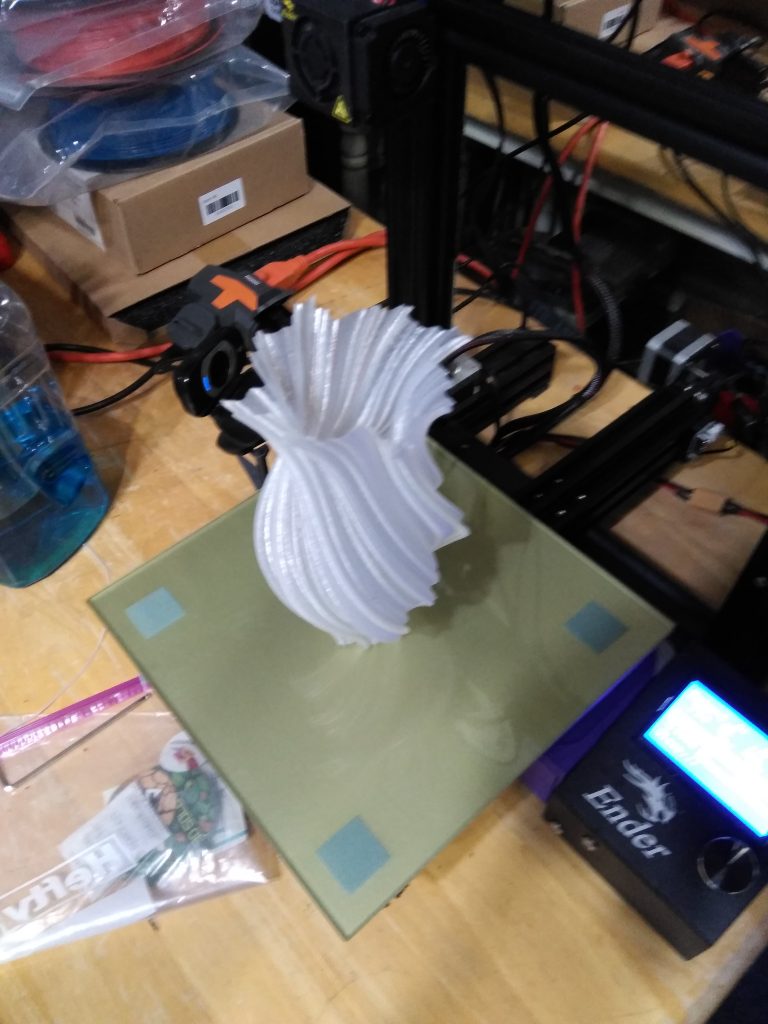
This is my version of the Big Lev ultrasonic acoustic levitator.
https://www.thingiverse.com/thing:3686962
This holds the aquarium stones I use with the ozone generator for my hot tub.

https://www.thingiverse.com/thing:3689445
These are the NEMA 17 stepper motor mounts for the Meade LX200 10″ telescope.
https://www.thingiverse.com/thing:3686937
This is a tool to install or remove a bicycle pedal axle.
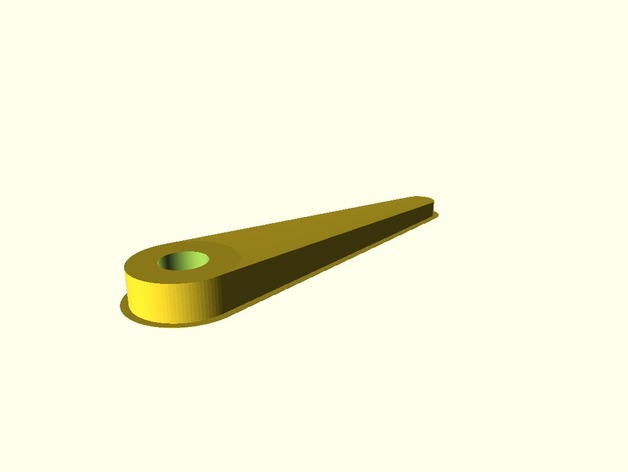
https://www.thingiverse.com/thing:3690670
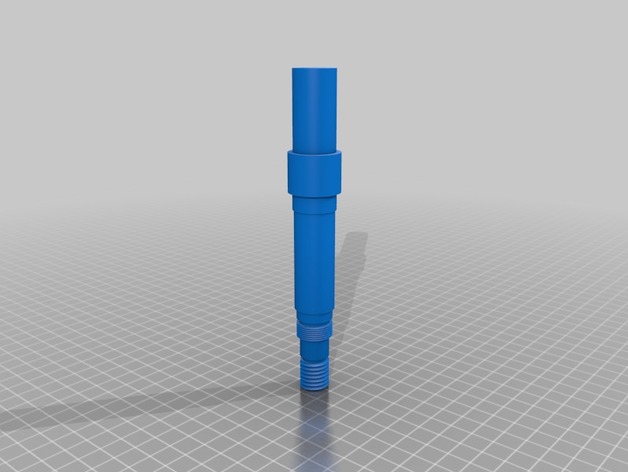
This is a model of a shaft for an iOptron Cube Pro
Filament Color Change During Print
I figured out how to do a filament color change int the middle of a print. I start out by inserting a pause command in Cura 4.0.0 (using post processing) at the required layer and then modifying that code manually in a text editor:
- raise the print head clear of the work
- move the print head clear of the work – so it’s easy to change the filament
- raise the print head well clear of the table
- pause the printer
- change the filament color
- resume the print
- the code will then extrude enough material to clear out the old color
- manually remove the extruded material
- resume print
Here is the an excerpt of the gcode file required to accomplish the above.
This code is for a Crealatiy Ender 3 Pro. Gcode for other printers may / will be different! Modify as needed for your printer.
; Caution: changing gcode manually is inherently dangerous. Any mistake or typo can cause major damage to the printer and the piece. Use at your own risk!
; Please understand what each command does- and double check your work. Once you resume the print be ready to pause at any unexpected behavior.
; First step is to add a “pause at height” command in the slicer using post processing to specify the layer to pause at.
; For me this turned out to be one layer less than the layer that the preview mode in the slicer showed me (don’t know why).
; For my part I paused at layer 29.
;
; Manually edit the gcode file.
; A search for “layer” will quickly get you to the automatically inserted post processing code.
; Copy the code and make the additions shown below to the copy.
; Then comment out the unmodified code and keep it for reference.
; I took the code added by post processing and added code to move the nozzle to a convenient location clear of the piece to change the filament – this will be different for each piece.
; I also added a home command after the filament change to correct any accidental head movement while changing the filament.
; I also added a large extrude to clear the old color out of the nozzle.
; Manually clean this off the bottom of the nozzle before resuming the pause.
;
;*************************************************************
;added code by post processing
;script: PauseAtHeight.py
;current layer: 29
M83
G1 F1500 E-10; retract filament
G1 F300 Z4; raise print head – to clear the object – different for each piece
; check what this is for your piece in the previous lines of code
G1 F9000 X110 Y30; move print head to change filament – any convenient location clear of the piece is fine
G1 F300 Z15; raise print head well clear of the table –
M104 S200; standby temperature – use your nozzle temperature here
M0; do the actual pause
M109 S200; resume temperature – again use your nozzle temperature here
G1 F1500 E10 ; extrude filament
G1 F199.998 E30; long extrude filament to clear prior color – make this as long as needed
G1 F1500 E-10; retract filament – to stop oozing
;added a home command in case I moved the print head
G28 ; home all axis
G1 F300 Z4 ; raise head slightly past work which is at 3.0 now for my piece then go to the next position of the print head for your piece see the automatically generated code.
G1 F9000 X12.129 Y54.135
G1 F1500 E10
G1 F9000
M82
;use numbers from the automatically generated code
G92 E3879.39436
;
;
;
;
;code continues here